SpringBoot的启动流程概述
尽量不会有太多的代码,以理清楚流程为主,复杂的代码会单独一个文件。
以 SpringBoot Servlet Web 应用为基础分析.
SpringBoot 版本为 2.2.6.RELEASE
[TOC]
上层调用
@SpringBootApplication
public class MvcApplication {
  public static void main(String[] args) {
    SpringApplication.run(MvcApplication.class, args);
  }
}
以上是最基础的 SpringBoot 应用启动代码,调用 SpringApplication 的 run 静态方法启动 SpringBoot 的整个容器。
SpringApplication 构造函数
// SpringApplication
// 入参中的的PrimarySources是配置主类,也就是MvcApplication.class.
public SpringApplication(ResourceLoader resourceLoader, Class<?>... primarySources) {
  // 资源加载器,此处为null
  this.resourceLoader = resourceLoader;
  Assert.notNull(primarySources, "PrimarySources must not be null");
  // 主要数据源集合
  this.primarySources = new LinkedHashSet<>(Arrays.asList(primarySources));
  // Web应用类型
  this.webApplicationType = WebApplicationType.deduceFromClasspath();
  // 设置初始化器,具体有哪些看下文
  setInitializers(
    (Collection)getSpringFactoriesInstances(ApplicationContextInitializer.class));
  // 设置监听者
  setListeners((Collection) getSpringFactoriesInstances(ApplicationListener.class));
  // 推断应用主类,此处代码我感觉还是很新奇的
  this.mainApplicationClass = deduceMainApplicationClass();
}
ApplicationContextInitializer - 初始化器
通过 spring.factories 文件的 SPI 机制获取到所有 ApplicationContextinitializer 的实现类。
ApplicationContextInitializer 作为应用初始化器,在 prepareContext 阶段中调用,用来在容器启动过程中对应用的上下文进行自定义配置。
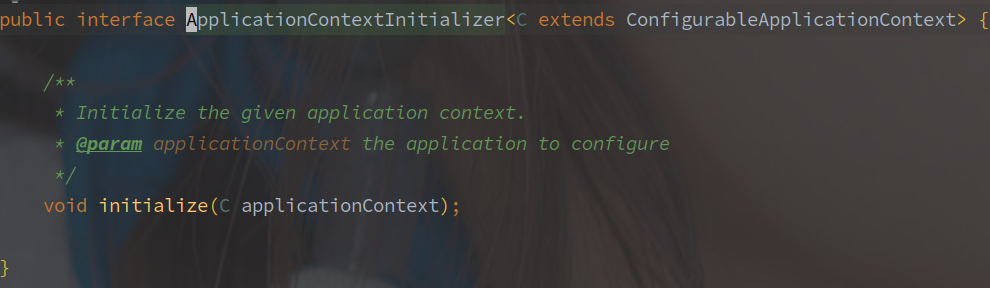
initialize(C applicationContext) 方法就初始化方法,参数为正在创建的 ApplicationContext。
对于 SpringCloud,此时还会有 PropertySourceBootstrapConfiguration 类,该类用于获取远程配置中心的数据。
ApplicationListener - 监听器
通过 spring.factories 文件的 SPI 机制获取到所有 ApplicationListener 的实现类。
这里采用的是观察者模式,所以被观察者 ApplicationCopntext 需要持有所有观察者 ApplicationListener 的引用。
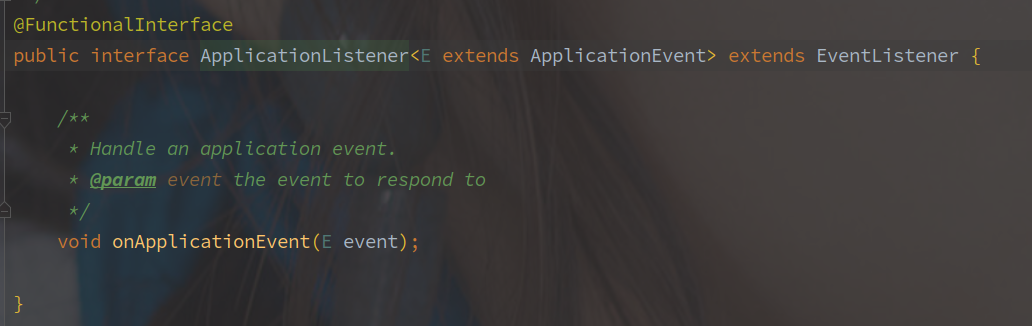
ApplicationListener 继承与 JDK 的 EventListener 类,监听某个 ApplicationEvent。
在容器初始化的各个阶段都会发布不同类型的事件,借助监听器可以在特定的事件执行自定义操作。
SpringBoot 中的事件分为两种:SpringApplicationEvent(以 SpringApplication 为事件源) 和 ApplicationContextEvent(以 ApplicationContext 为事件源)。
推断主类
mainApplicationClass 的推断过程很有意思,直接构造一个 RuntimeException 然后遍历异常的堆栈信息查找 main 方法,获取当前主类。
...
    try {
        StackTraceElement[] stackTrace = new RuntimeException().getStackTrace();
        for (StackTraceElement stackTraceElement : stackTrace) {
            if ("main".equals(stackTraceElement.getMethodName())) {
                return Class.forName(stackTraceElement.getClassName());
            }
        }
 ...
Run()方法
run 方法是启动的核心方法,包含了环境准备,监听事件的发布,上下文的刷新及后续处理等等。
执行方法的结果就是返回一个可使用的 ConfigurationApplicationContext ,也可以理解为就是应用上下文的装配过程。
    public ConfigurableApplicationContext run(String... args) {
        // 用于记录时间,可以当做是秒表
        StopWatch stopWatch = new StopWatch();
        stopWatch.start();
        // 这个就是最终要返回的上下文对象
        ConfigurableApplicationContext context = null;
        // 异常报告集合
        Collection<SpringBootExceptionReporter> exceptionReporters = new ArrayList<>();
        // Headless相关配置
        configureHeadlessProperty();
        // 工厂加载机制获取SpringApplicationRunListener,并封装为一个对象
        // SpringApplicationRunListener 是应用启动前期的广播器.
        SpringApplicationRunListeners listeners = getRunListeners(args);
         // 触发 ApplicationStartingEvent
        listeners.starting();
        try {
                // 对main方法的入参进行包装
                ApplicationArguments applicationArguments = new DefaultApplicationArguments(args);
                // 准备容器环境
                // 会触发ApplicationEnvironmentPreparedEvent,读取配置文件中的内容
                // 会将环境与当前的SpringApplication绑定
                ConfigurableEnvironment environment = prepareEnvironment(listeners, applicationArguments);
                // 配置忽略的Bean信息,`spring.beaninfo.ignore`配置项
                configureIgnoreBeanInfo(environment);
                // 输出Banner
                Banner printedBanner = printBanner(environment);
                // 创建对应的应用上下文
                // 当前环境的上下文主类是AnnotationConfigServletWebServerApplicationContext
                context = createApplicationContext();
                // 还是工厂加载模式,获取异常的报告之类的
                exceptionReporters = getSpringFactoriesInstances(SpringBootExceptionReporter.class,
                        new Class[] { ConfigurableApplicationContext.class }, context);
                // 准备上下文
                //  该阶段会调用构造函数中获取的ApplicationContextInitializer
                // 也会将sources中的BeanDefinition加载进BeanFactory
                prepareContext(context, environment, listeners, applicationArguments, printedBanner);
                // 刷新上下文
                refreshContext(context);
                // 刷新上下文之后的操作
                // Servlet Web环境下并没有实现该方法
                afterRefresh(context, applicationArguments);
                // 计时结束
                stopWatch.stop();
                if (this.logStartupInfo) {
                        new StartupInfoLogger(this.mainApplicationClass).logStarted(getApplicationLog(), stopWatch);
                }
                // 广播ApplicationStartedEvent
                listeners.started(context);
                callRunners(context, applicationArguments);
        } catch (Throwable ex) {
                handleRunFailure(context, ex, exceptionReporters, listeners);
                throw new IllegalStateException(ex);
        }

        try {
                listeners.running(context);
        } catch (Throwable ex) {
                handleRunFailure(context, ex, exceptionReporters, null);
                throw new IllegalStateException(ex);
        }
        return context;
    }
1.启动计时器
// SpringApplication
StopWatch stopWatch = new StopWatch();
stopWatch.start();

// StopWatch
public void start() throws IllegalStateException {
        start("");
}

public void start(String taskName) throws IllegalStateException {
        if (this.currentTaskName != null) {
                throw new IllegalStateException("Can't start StopWatch: it's already running");
        }
        this.currentTaskName = taskName;
        // 采用本地系统时钟
        this.startTimeNanos = System.nanoTime();
}
上钟,计时开始。
2. 配置 Headless
private static final String SYSTEM_PROPERTY_JAVA_AWT_HEADLESS = "java.awt.headless";

private void configureHeadlessProperty() {
        // System的相关配置
        System.setProperty(SYSTEM_PROPERTY_JAVA_AWT_HEADLESS,
                System.getProperty(SYSTEM_PROPERTY_JAVA_AWT_HEADLESS, Boolean.toString(this.headless)));
}
Headless 模式是应用的一种配置模式。
在服务器可能缺少显示设备、键盘、鼠标等外设的情况下可以使用这种模式。
3. 获取并启动监听器
// SpringApplication
SpringApplicationRunListeners listeners = getRunListeners(args);

private SpringApplicationRunListeners getRunListeners(String[] args) {
    Class<?>[] types = new Class<?>[] { SpringApplication.class, String[].class };
    return new SpringApplicationRunListeners(logger,
                                             getSpringFactoriesInstances(SpringApplicationRunListener.class, types, this, args));
}
这里获取的监听器和之前构造函数中的不同,这里获取的是 SpringApplicationRunListener 的实现类,并包装为 SpringApplicationRunListeners。
SpringApplicationRunListener 是专门的对容器启动时各个阶段的监听,一定程度上来说也定义了启动的各个阶段。

SpringApplicationRunListener 其默认的实现只有 EventPublishingRunListener,以下为 EventPublishingRunListener 的构造函数:
// EventPublishingRunListener的构造函数
public EventPublishingRunListener(SpringApplication application, String[] args) {
        this.application = application;
        this.args = args;
        this.initialMulticaster = new SimpleApplicationEventMulticaster();
        // 获取 SpringApplication 中的所有监听器,并添加到内部的 Multicaster 中
        for (ApplicationListener<?> listener : application.getListeners()) {
                this.initialMulticaster.addApplicationListener(listener);
        }
}
EventPublishingRunListener 会获取 SpringApplication 中已有的监听器。
EventPublishingRunListener 是应用启动初期的监听者,也是借助于 SimpleApplicationEventMulticaster 广播事件,实现如下图:

另外值得注意的是,在 contextLoaded 事件之后事件的发布又是使用 ApplicationContext 来完成的,因为 ApplicationContext 中的事件发布器已经完成初始化了了。
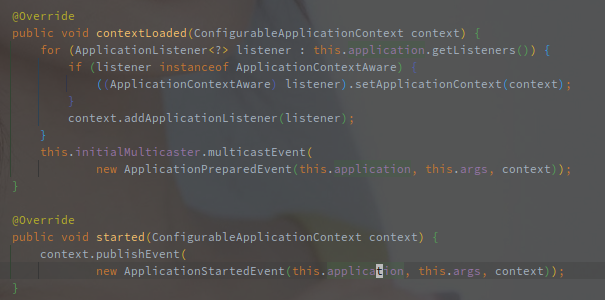
SpringBoot 的启动阶段,各类监听器起了非常关键的角色,包括配置文件的加载都是通过监听器完成的。
ApplicationContext 本身就是一个事件广播器,但是在 SpringBoot 的启动阶段,ApplicationContext 还没有初始化好的时候就需要广播部分事件。
所以出现了 SpringApplicationRunListener,它定义了启动流程的各个阶段,也作为初期的事件广播器。
SpringApplicationRunListener 和 ApplicationContext 广播事件也都是通过 SimpleApplicationEventMulticaster 实现的。
在 contextLoaded 中,SpringApplicationRunListener 将它持有的所有监听者全部添加到了 ApplicationContext 中,所以后续的事件广播又是通过 ApplicationContext 自己来了。
3. 发布 ApplicationStartingEvent
NOOP。
4. 创建并准备环境
// SpringApplication#prepareEnvironment
private ConfigurableEnvironment prepareEnvironment(SpringApplicationRunListeners listeners,
                                                   ApplicationArguments applicationArguments) {
    // 创建或者获取一个 ConfigurationEnvironment 对象
    ConfigurableEnvironment environment = getOrCreateEnvironment();
    // 配置 Profiles 和 PropertySource
    configureEnvironment(environment, applicationArguments.getSourceArgs());
    ConfigurationPropertySources.attach(environment);
    // 发布环境准备就绪的事件,进一步加载配置
    listeners.environmentPrepared(environment);
    bindToSpringApplication(environment);
    if (!this.isCustomEnvironment) {
        environment = new EnvironmentConverter(getClassLoader()).convertEnvironmentIfNecessary(environment, deduceEnvironmentClass());
    }
    ConfigurationPropertySources.attach(environment);
    return environment;
}
该方法中首先创建了 Environment,并且进一步配置了部分 PropertySources 以及 Profile 属性。
profile 属性就只活跃的环境,例如项目中往往存在 application-dev.yml 以及 application-test.yml 两种环境的配置文件。
PropertySource 主要是对项目启动参数的包装,以及在初始化的时候带有的一些系统级的 PropertySource
PropertySource 简单来说就是一个 K/V 的配置属性。
简单配置之后发布了 ApplicationEnvironmentPreparedEvent ,监听该事件的主要监听器:
ConfigFileApplicationListener 会监听该事件并读取配置文件,Consul 等远程配置中心的配置并不会在这是读取。
BootstrapApplicationListener 会监听该事件,插队创建 SpringCloud 的 bootstrap 应用上下文。
5. 配置忽略的Bean信息
public static final String IGNORE_BEANINFO_PROPERTY_NAME = "spring.beaninfo.ignore";

// SpringApplication
private void configureIgnoreBeanInfo(ConfigurableEnvironment environment) {
        if (System.getProperty(CachedIntrospectionResults.IGNORE_BEANINFO_PROPERTY_NAME) == null) {
    Boolean ignore = environment.getProperty("spring.beaninfo.ignore", Boolean.class, Boolean.TRUE);
    System.setProperty(CachedIntrospectionResults.IGNORE_BEANINFO_PROPERTY_NAME, ignore.toString());
        }
}
方法逻辑很简单,就是在系统配置中没有 spring.beaninfo.ignore 时,将当前环境容器中的对应属性塞进去。
6. 输出Banner
Banner printedBanner = printBanner(environment);
打印 Banner 的。
7. 创建应用上下文
逻辑很简单,根据不同的Web应用类型创建对应的上下文类,具体对应关系如下:
| 环境类型 | 上下文类 |
|---|---|
| Default | AnnotationConfigApplicationContext |
| Servlet | AnnotationConfigServletWebServerApplicationContext |
| Reactive | AnnotationConfigReactiveWebServerApplicationContext |
应用类型是在 SpringApplication 的构造函数中推断出来的。
8. 获取异常的报告方法
exceptionReporters = getSpringFactoriesInstances(SpringBootExceptionReporter.class,
                                                 new Class[] { ConfigurableApplicationContext.class }, context);
通过工厂加载模式获取 SpringBootExceptionReporter 实现类,获取的 exceptionReporters 会在 catch 的逻辑里使用,来报告出现的异常情况。
9. 准备上下文
// SpringApplication# prepareContext
private void prepareContext(ConfigurableApplicationContext context, ConfigurableEnvironment environment,SpringApplicationRunListeners listeners, ApplicationArguments applicationArguments, Banner printedBanner) {
    // 配置 Environment 到应用上下文
    context.setEnvironment(environment);
    // 配置一些必要的Bean
    postProcessApplicationContext(context);
    // 应用所有初始化器
    applyInitializers(context);
    // 发布上下文准备就绪事件
    listeners.contextPrepared(context);
    if (this.logStartupInfo) {
        logStartupInfo(context.getParent() == null);
        logStartupProfileInfo(context);
    }
    // 注册相关Bean,这些为什么不一起扔到 postProcessApplicationContext 方法呢?
    ConfigurableListableBeanFactory beanFactory = context.getBeanFactory();
    beanFactory.registerSingleton("springApplicationArguments", applicationArguments);
    if (printedBanner != null) {
        beanFactory.registerSingleton("springBootBanner", printedBanner);
    }
    if (beanFactory instanceof DefaultListableBeanFactory) {
        ((DefaultListableBeanFactory) beanFactory)
        .setAllowBeanDefinitionOverriding(this.allowBeanDefinitionOverriding);
    }
    if (this.lazyInitialization) {
        context.addBeanFactoryPostProcessor(new LazyInitializationBeanFactoryPostProcessor());
    }
    // Load the sources
    Set<Object> sources = getAllSources();
    Assert.notEmpty(sources, "Sources must not be empty");
    // 加载所有的 BeanDefinition
    load(context, sources.toArray(new Object[0]));
    // 发布上下文已加载完毕事件
    listeners.contextLoaded(context);
}
该方法首先配置了环境,而后调用所有的所有的 ApplicationContextInitializer 实现类,重点的实现如下:
BootstrapApplicationListener#AncestorInitializer 作用是将 SpringCloud 的 bootstrap 上下文设置为当前的父上下文,AncestorInitializer 会进一步创建 ParentContextApplicationContextInitializer 进行初始化。
PropertySourceBootstrapConfiguration 作用是加载远程的配置。
- DelegatingApplicationContextInitializer 会进一步执行 context.initializer.classes 配置下的 ApplicationContextInitializer 实现类。
- ServletContextApplicationContextInitializer 会进一步配置 ServiceContext。
ApplicationContextInitializer 是附加的对 ApplicationContext 的初始化,在 SpringBoot 中算是非常重要的扩展点了,因为参数中就将 ApplicationContext 整个暴露出来了,随便操作。
之后是调用 load 加载 BeanDefinition,如下图所示:
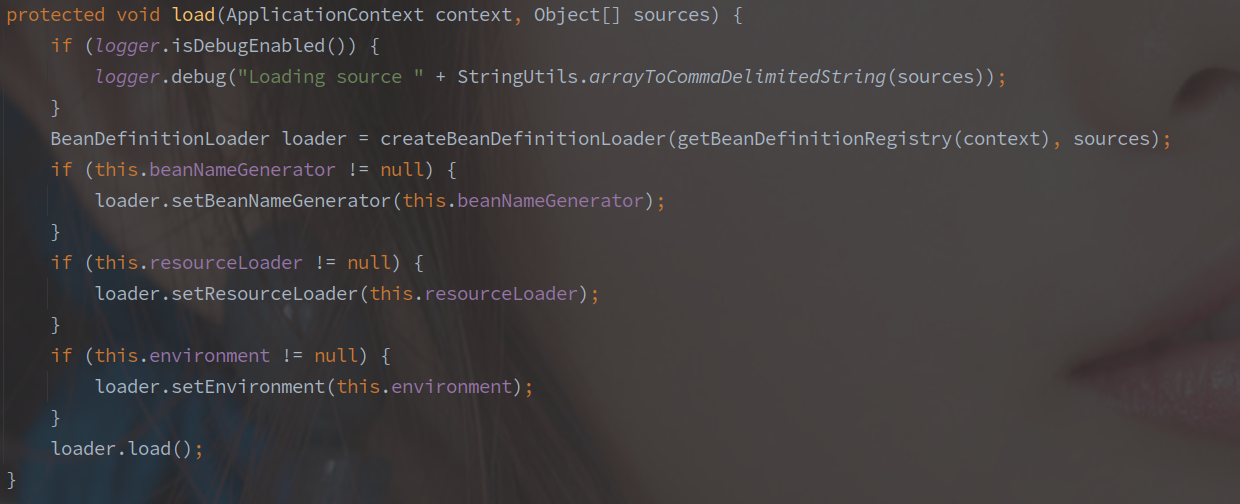
所有的 BeanDefinition 都是通过 BeanDefinitionLoader 获取的。
这里的 BeanDefinition 并不会对 Import 等做扩展,仅仅注册了 Bootstrap 类。
10.刷新应用上下文
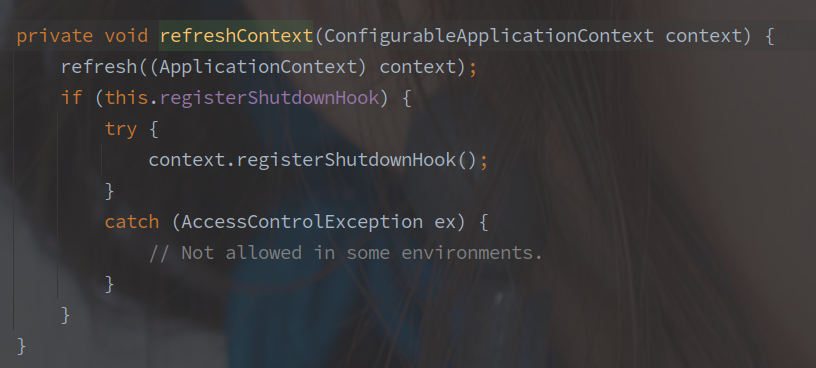
refresh() 最终会调用到 AbstractApplicationContext#refresh 方法,方法注释如下图:
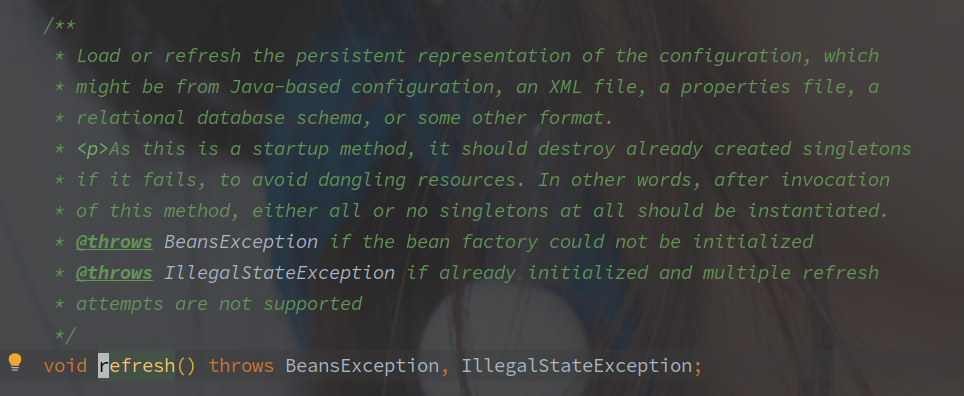
加载或者刷新配置的持久化表示,可能从 Java 类、XML 文件、Properties 文件,关系型数据库系统或者别的格式。
作为一个启动方法,如果失败之后会销毁所有已经创建的单例对象,防止资源的悬挂。
或者说,调用该方法会实例化全部的单例对象或者全部不实例化。
源码如下:
@Override
public void refresh() throws BeansException, IllegalStateException {
  synchronized (this.startupShutdownMonitor) {
    // Prepare this context for refreshing.
    prepareRefresh();

    // Tell the subclass to refresh the internal bean factory.
    ConfigurableListableBeanFactory beanFactory = obtainFreshBeanFactory();

    // Prepare the bean factory for use in this context.
    prepareBeanFactory(beanFactory);

    try {
      // Allows post-processing of the bean factory in context subclasses.
      postProcessBeanFactory(beanFactory);

      // Invoke factory processors registered as beans in the context.
      // 应用所有的 BeanFactoryPostProcessor
      invokeBeanFactoryPostProcessors(beanFactory);

      // Register bean processors that intercept bean creation.
      // 注册所有的 BeanPostProcessor
      registerBeanPostProcessors(beanFactory);

      // Initialize message source for this context.
      initMessageSource();

      // Initialize event multicaster for this context.
      initApplicationEventMulticaster();

      // Initialize other special beans in specific context subclasses.
      onRefresh();

      // Check for listener beans and register them.
      registerListeners();

      // Instantiate all remaining (non-lazy-init) singletons.
      finishBeanFactoryInitialization(beanFactory);

      // Last step: publish corresponding event.
      finishRefresh();
    }

    catch (BeansException ex) {
      if (logger.isWarnEnabled()) {
        logger.warn("Exception encountered during context initialization - " +
                    "cancelling refresh attempt: " + ex);
      }

      // Destroy already created singletons to avoid dangling resources.
      destroyBeans();

      // Reset 'active' flag.
      cancelRefresh(ex);

      // Propagate exception to caller.
      throw ex;
    }

    finally {
      // Reset common introspection caches in Spring's core, since we
      // might not ever need metadata for singleton beans anymore...
      resetCommonCaches();
    }
  }
每行方法都有注释,方法的作用已经很明确了。
该方法的主要流程:
- 调用所有的 BeanFactoryPostProcessor
BeanFactoryPostProcessor 是对 BeanFactory 的扩展点,暴露创建的 BeanFactory 对象,允许用户自定义修改 BeanDefinition。
主要的 BeanFactoryPostProcessor
ConfigurationClassPostProcessor - 该类用来加载所有的配置类,也加载了大多数的 Bean 对象
RefreshSchpe -
PropertySourcesPlaceholderConfigurer - 该类主要用来替换 BeanDefinition 中属性的的表达式
${}
- 注册 BeanPostProcessor
BeanPostProcessor 是 Spring 中最终要的扩展点,可以使用该扩展插手 Bean 的所有声明周期,包括实例化和初始化。
此时默认加载的内置类,有如下几种:
- ConfigurationPropertiesBindingPostProcessor - 解析 @ConfigurationProperties
- CommonAnnotationBeanPostProcessor - 解析 @Resource,@PostConstruct,@PreDestroy
- AutowiredAnnotationBeanPostProcessor - 解析 @Autowired,@Inject
- AnnotationAwareAspectJAutoProxyCreator - 根据收集到的 Advisor,拦截对象并创建代理。
- MethodValidationPostProcessor - 对 @Validdation 注解的解析,生成判断的代理类
- ApplicationContextAwareProcessor - 解析类似 ApplicationContextAware 和 EnvironmentAware 接口的实现。
- ImportAwareBeanPostProcessor - 解析 ImportAware 接口
- 初始化事件广播器
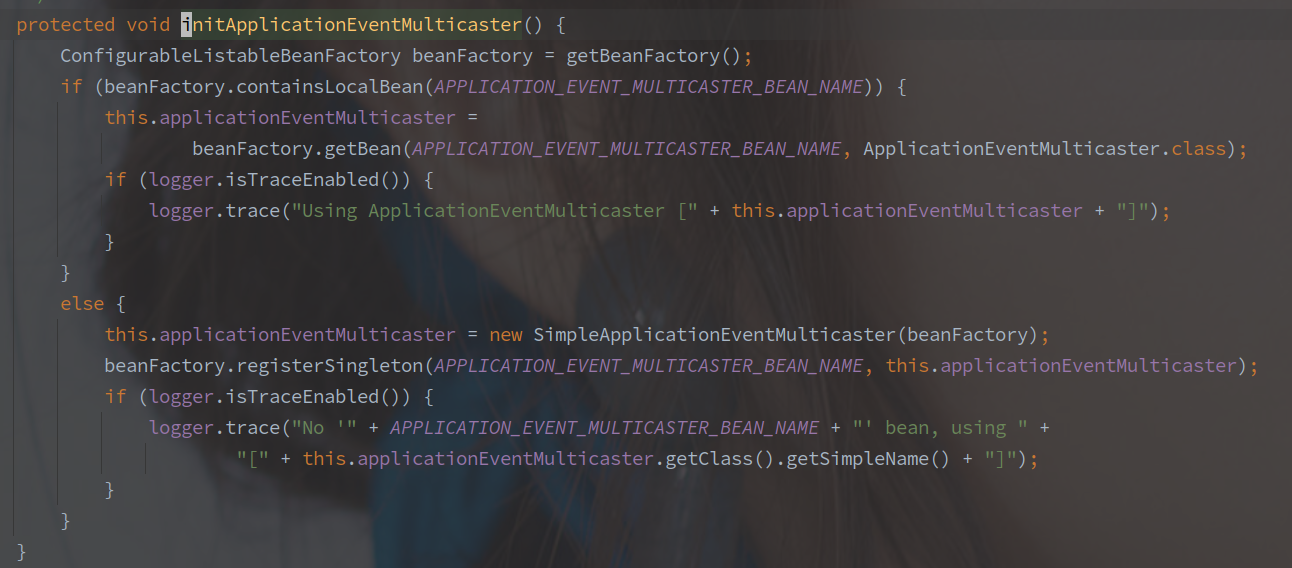
事件广播器也可以自定义,只需要继承 ApplicationEventMulticaster 并且声明为 applicationEventMulticaster 的 Bean 对象。
默认还是采用的 SimpleApplicationEventMulticaster 来广播事件。
- finishBeanFactoryInitialization 初始化所有单例 Bean(除去懒加载部分)
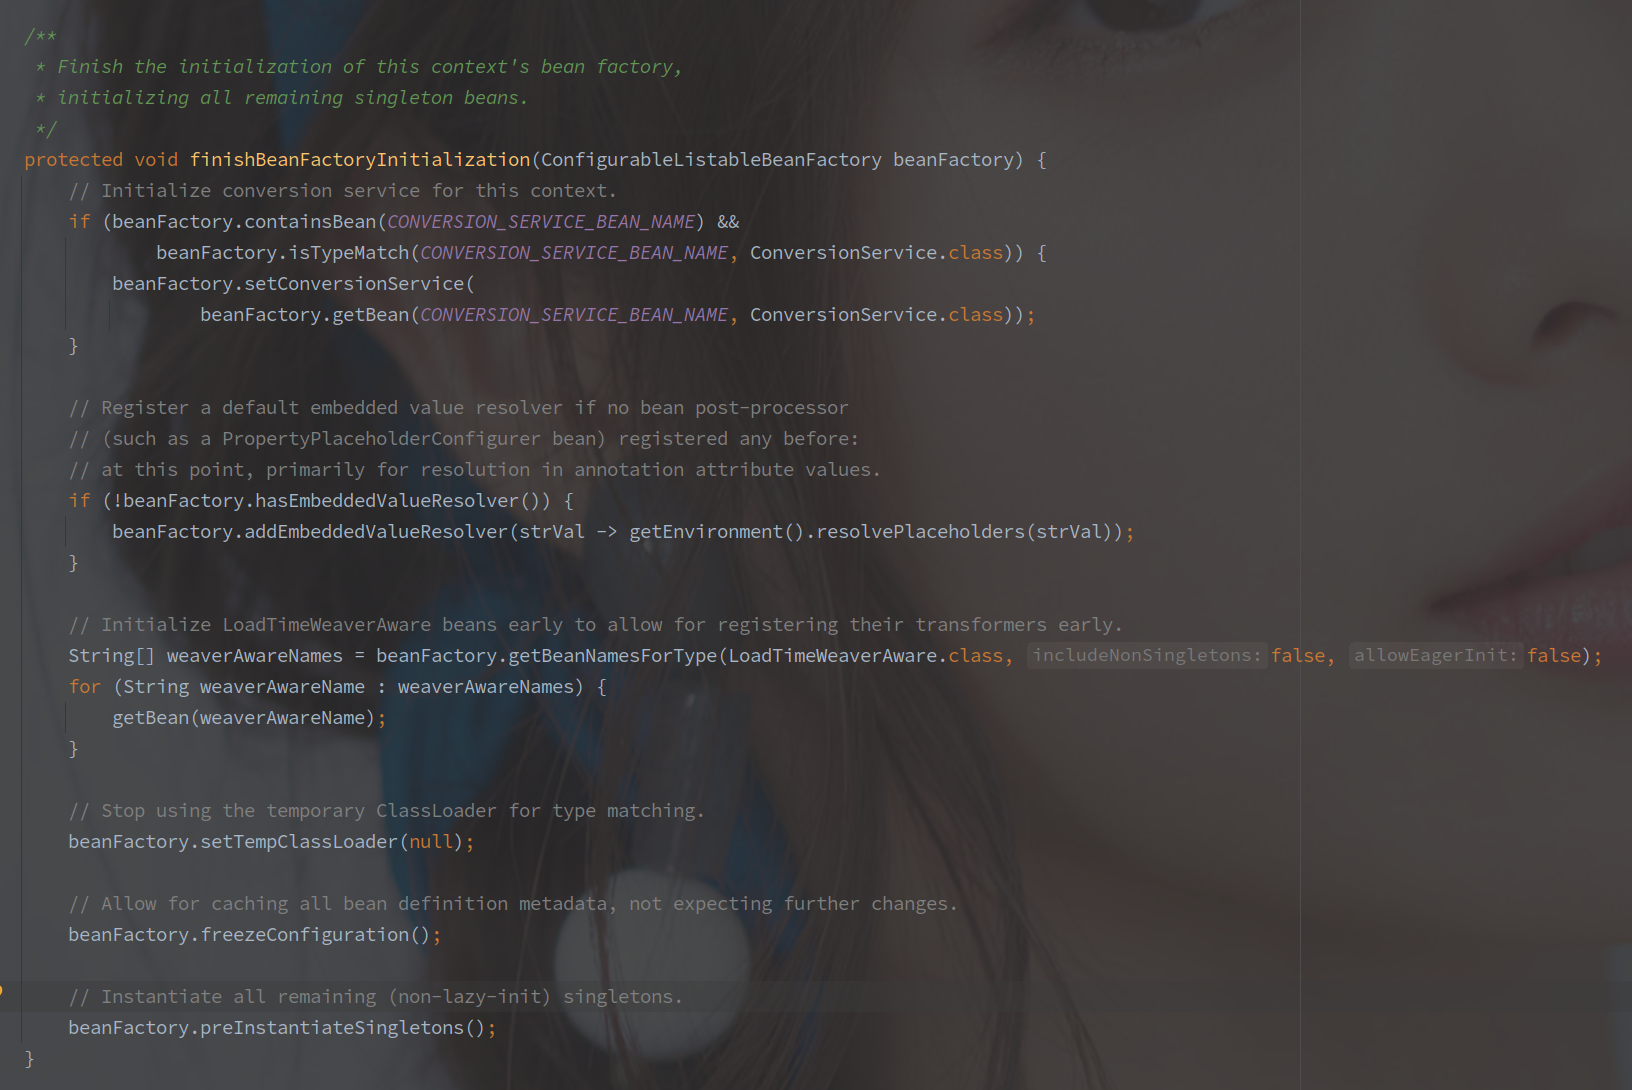
在最后的方法 beanFactor#preInstantiateSingletons 中,会初始化所有非懒加载的单例 Bean 对象。
- finishRefresh 初始化 LifecycleProcessor
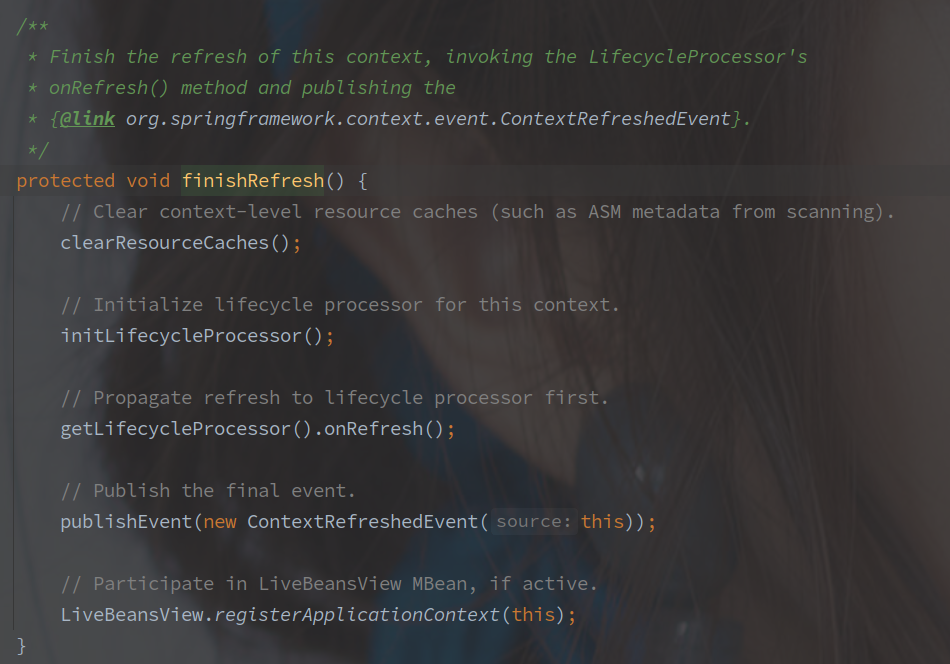
如果是 Web 容器的话,在 onRefresh 方法中还会创建 ServletContext 并启动。
11. 计时结束
// SpringApplication
stopWatch.stop();

// StopWatch
public void stop() throws IllegalStateException {
  if (this.currentTaskName == null) {
    throw new IllegalStateException("Can't stop StopWatch: it's not running");
  }
  // 记录单词的SpringApplication启动时间
  long lastTime = System.nanoTime() - this.startTimeNanos;
  // 总时间
  this.totalTimeNanos += lastTime;
  // 当前任务的信息
  this.lastTaskInfo = new TaskInfo(this.currentTaskName, lastTime);
  // 是否保存任务列表
  if (this.keepTaskList) {
    this.taskList.add(this.lastTaskInfo);
  }
  // task计数+1
  ++this.taskCount;
  this.currentTaskName = null;
}
因为StopWatch是通过new关键字在run方法中创建的,也并没有什么明显的逃逸代码。
不是很懂。
所以这个时间指的是run方法开始到准备ApplicationContext完成的这段时间。
12. 发布ApplicationStartedEvent
// SpringApplication
listeners.started(context);

//     EventPublishingRunListener
@Override
public void started(ConfigurableApplicationContext context) {
        context.publishEvent(new ApplicationStartedEvent(this.application, this.args, context));
}
可以看到,在刷新过程中准备好上下文中的事件发布器之后,事件发布开始由ApplicationContext发布。
13. 调用相关Runner
// SpringApplication#run
callRunners(context, applicationArguments);

// SpringApplication
private void callRunners(ApplicationContext context, ApplicationArguments args) {
  List<Object> runners = new ArrayList<>();
  // 从上下文中获取ApplicationRunner和CommandLineRunner的Bean对象
  runners.addAll(context.getBeansOfType(ApplicationRunner.class).values());
  runners.addAll(context.getBeansOfType(CommandLineRunner.class).values());
  // 排序
  AnnotationAwareOrderComparator.sort(runners);
  // 遍历调用run方法
  for (Object runner : new LinkedHashSet<>(runners)) {
    if (runner instanceof ApplicationRunner) {
      callRunner((ApplicationRunner) runner, args);
    }
    if (runner instanceof CommandLineRunner) {
      callRunner((CommandLineRunner) runner, args);
    }
  }
}
方法逻辑很简单,从当前上下文中获取ApplicationRunner和CommandLineRunner类型的Bean对象。
然后排序并遍历调用run方法。
这个排序需要注意的是只有Ordered接口或者@Order。